Sleeping bags
A sleeping bag is a fundamental piece of gear for warmth and comfort on overnight trips in most climates. The type and quality of a sleeping bag that suits you depends mainly on the variety of trips you are doing, night air temperatures, the sort of shelter, how exposed your campsites will be, and if you sleep warm or cold.
In this article we cover four main sleeping bag areas: choosing, packing, using and maintenance. We will explore the different designs, types of bags, insulation and lots more. In researching this article we learned more about sleeping bags then we ever wished to know. We trust that you will learn a few things and it will help make your next night out just that bit more snuggly.
Choosing the best bag
When selecting a sleeping bag, the key considerations are temperature rating, shape, insulation type, aspects such as hoods and zippers, and the price. Another option, especially for ultra-lightweight bushwalkers, is a quilt or integrated sleeping bag and sleeping mat system.
The lowest winter temperatures recorded by the Bureau of Meteoriology for each state range from -7.2°C to -13°C, with an extreme -23°C in NSW in 1994.
ANATOMY OF A SLEEPING BAG
Length
Regular and long
Sleeping bags generally come in two lengths, regular and long. It’s worth getting the right length as a bag that’s too short will leave you cold at the shoulders and neck, and a bag that is too big will leave your feet cold.
Check the specifications to decide on the right size by matching your height to the bag length.
Some bags are designed to fit women better than the standard mummy or barrel sleeping bag shapes. Don’t be shy about asking in the store to climb into a sleeping bag and testing it out.
Half-bags
For ultra-lightweight camping, half-bags are coming back into fashion (e.g. Hispar Half Bag). The logic is that the user already has enough clothing such as a down jacket and thermals to keep their upper half warm, so the sleeping bag only needs to be long enough to cover the legs. However, there’s a often a gap between the two parts of the sleeping arrangement, which lets cold air in and warm air out.
Kid’s sleeping bags
For people with a small build, it may be suitable to use a children’s sized sleeping bag (e.g. Coleman Kid’s Firefly Sleeping Bag). However, take care to examine temperature ratings and bag weights carefully as materials used in children’s sleeping bags are generally of a lower quality compared to adult bags, and hence may be heavier and less insulating.
Alternative designs
The sleeping bag, sleeping bag liner and sleeping mat system has been around for a long time with little change to the core principles: create a comfortable sleeping environment with ground insulation that is soft and a sleeping bag that keeps the cold out and warmth in.
Recently, new, lighter sleep systems have been designed.
Top quilt
A top quilt is like an unzipped sleeping bag, keeping users warm by covering the top, and with a pocket for you feet. The reason that it does not go underneath is because this is compressed, reducing insulation. Top quilts are often used by ultralight bushwalkers or by people using a hammock. Top quilts are often referred to as quilts.
Top quilts are lightweight and versatile, enabling the user to adapt the top quilt to best suit conditions and some users report to use them exclusively instead of a sleeping bag. Take care when selecting a top quilt to match it to your needs, checking that there is enough insulation around the neck and head.
Integrated sleeping bag and mat
Another design is to integrate the sleeping mat into the sleeping bag system, creating one unit. This saves weight and material of the bottom of the sleeping bag that gets compressed and insulates poorly. Since the sleeping mat is doing most of the insulating anyway, this design does away with the bottom of the sleeping bag altogether.
Baffles
These provide depth for the insulation and stop the insulation from moving around. There are a number of different sorts of baffles. The simplest is a box, with baffles set at right angles to the extremal fabric. V baffles mean that insulation can overlap. Trapezoid baffles are another sort, part way between straight and V. Baffles may be across the width of a sleeping bag or along the length. Some bags have a combination. Baffles are generally lighter than the visible fabric, which is why extreme care is needed when washing sleeping bags.
Shape
Like sleeping bag liners, sleeping bags come in a few different shapes. There is no systematic description of bag. Semi-rectangular may be described as semi-rectangular, tapered rectangular and mummy. Mummy bags may be described as semi-rectangular and mummy.
Insulation
Sleeping bag insulation traps the heat your body produces while you sleep and keeps you warm. It also keeps the cold out.
Materials
Synthetic material and down are the two main types of insulation used. For down insulation, duck or goose down (or a mix) are most common, although pure duck down is most abundant because more ducks than geese are bred and sold as meat, and so duck feathers are cheaper and more plentiful.
Down is generally treated to become somewhat water resistant to some moisture, but is not effective if fully immersed or soaked. That is, down is water resistant not waterproof.
Some companies are moving towards ethically sourcing down in response to ethic issues including live plucking. A few companies such as North Face have policies to ethically source down insulation. They have responsible auditing of all manufacturing steps including production and collection of feathers to ensure humane treatment of animals. Price alone does not tell you if the material is ethically sourced or if the workers are treated well.
Fill power
The fill power describes the insulation properties of the bag, or the down’s ability to loft, which is related to how well the down traps heat. Loft is a measure of how much air the insulating down can trap (i.e. its fluffiness), and generally speaking the higher the fill power, the better the insulation. The fill power is a factor of how many cubic inches the insulation takes for each ounce: a 300 rating is at the low-end, whereas a 900 grade is high-end down.
Sleeping bags with a higher fill power rating are more fluffy and better insulators than lower fill power bags. For instance, the insulation in a 600 fill power sleeping bag is more fluffy and effective at trapping air than the insulation in a 400 fill power sleeping bag. Since high-power insulation is a more efficient insulator, manufacturers need to use less fill volume and thus can create lighter weight bags, including ultralight gear.
Fill power reduces over time as the bag ages and gets dirty. That’s why it pays to look after your sleeping bag to keep it as effective as possible.
Features
At its most basic, a sleeping bag has insulation in pockets separated by baffles between two layers of material. The baffles may be one of several kinds and the material is usually a synthetic, similar to nylon. One side usually has a zip with a draft tube to stop heat escaping.
Hood
Hoods provide additional warmth and comfort. However, in warmer conditions, a hood may be overkill. Some sleeping bags come with a detachable hood (e.g. Black Wolf Zambezie King 5oc sleeping bag) giving users the option to carry it in cooler conditions or remove it for warmer trips. Check that the detachable hood or sleeping bag has a draft tube to eliminate drafts to maintain comfort and warmth. Some ultralight bags do not have a hood at all (e.g. feathered friends vireo ultralight sleeping bag review).
Some hoods have a pillow pocket where you can put your pillow securely inside. Some come with drawstrings or other methods of allowing users to enclose their head thoroughly in cold weather, or around the entire pillow.
Zippers
Most sleeping bags have one side with a zipper to provide easy access into and out of the bag. Some bags have zippers on either side, making it easier to exit on the side you prefer, e.g. ATK2-R500. That is, the sleeping bag may have a left or a right zipper, but not both on one bag.
For couples, it’s possible to zip up compatible bags to create a double bag. For rectangular sleeping bags, unzip the bags, lay them together with the inside of the bags facing each other and zip the bags together. For joining mummy sleeping bags, you must join a right-hand zipper sleeping bag with a left-hand zipper sleeping bag.
Pockets
Some sleeping bags have pockets for valuables such as money, passports or phones. Internal pockets are preferable so that you can grab items without opening the bag and losing all the nice trapped warm air.
Loops
Some sleeping bags have loops that can be used to connect the sleeping bag to a sleeping mat. The loops are also handy for hanging up the sleeping bag to air.
Neck draft tube
A neck-shoulder draft tube keeps warm air in. Unless you are a cold sleeper and/or camp in cold places, a neck-shoulder draft tube is probably unnecessary.
Detachable hood draft tube
This is a thin insulated tube on the inside and adjacent to the zip or detachable hood to prevent warm air escaping through the zip or hood gap.
Foot box
A foot box adds additional space around the feet for more natural comfort during the night, particularly for people that sleep on their back. Also, for taller people, all other things being equal, for two sleeping bags the same length, the bag with a foot box has more room as the user can go to the end of bag and not have the feet cramped.
Stuff sack
A stuff sack comes with the sleeping bag. If you want to be more certain of keeping the bag dry in wet conditions, a drysack may be useful. A dry sack is designed for this, and has a folding top. Push the bag into the dry sack as fas far as possible, exclude the air, fold the top and do up the buckle. Most people seem to not use a plastic bag inside a drysack.
Although a plastic bag is a bit fiddly it is a cheap, light and effective solution.
Compression straps
Compression straps may make a significant difference to reduce the packed volume of a sleeping bag. They work by compressing evenly around the stuff sack by drawing the straps downward and in some cases may reduce the volume by more than 50%.
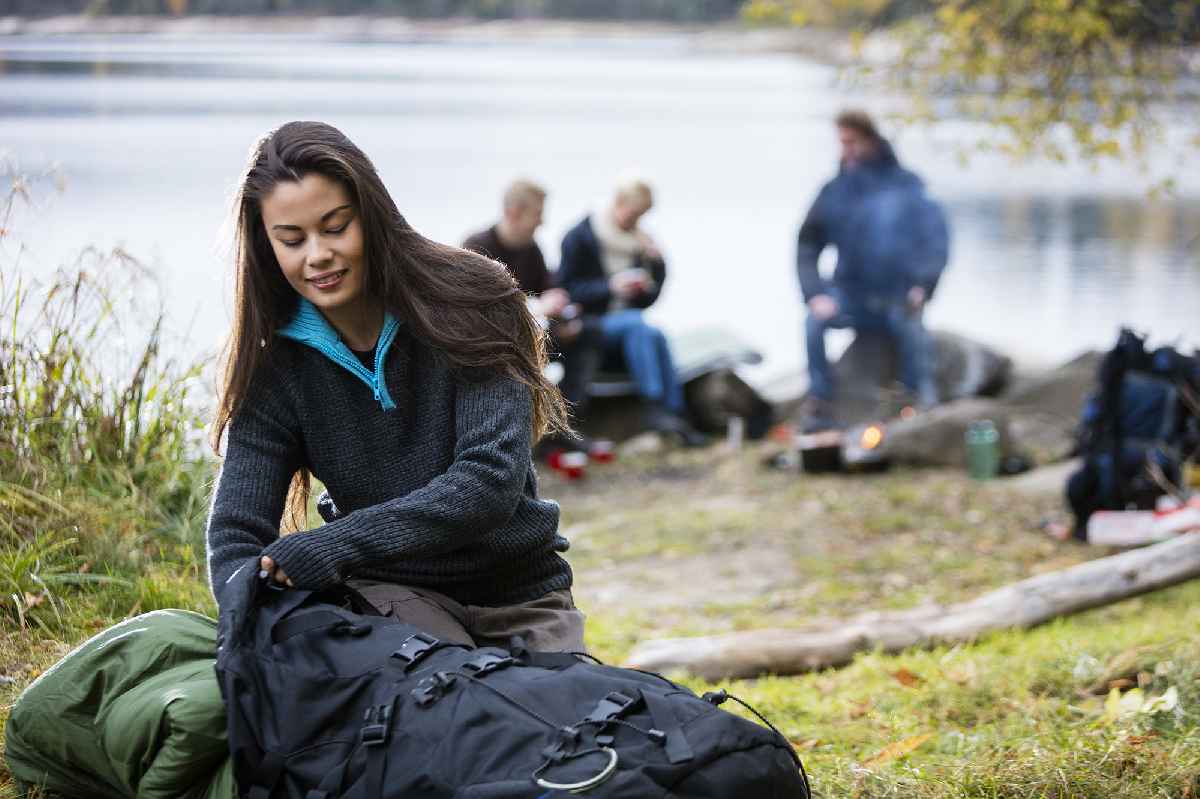
CHECKING AND PACKING
Sleeping bags are relatively quick to check and pack. First, make sure that your sleeping bag is clean and dry and doesn’t have any damage to the material. Check by running your hands over the material and doing a visual inspection. Also, check that the zippers open and close smoothly, and toggles or clips are working.
Check that the sleeping bag rating is suitable for your trip.
Next, find a clean open area at home to pack your sleeping bag. Some people find sitting or kneeling is a comfortable position to pack the bag, but the most important thing is to be relaxed and not straining shoulders or arms.
Some sleeping bags have a stuff sack or compression sack that makes it easy to reduce the sleeping bag volume with drawcords on the side. Generally, sleeping bags made with down compress into a smaller volume than synthetic bags. However, sleeping bag technology has been steadily improving with new materials on the market each year, so it’s worth keeping an eye out for new products.
It’s really important to pack your sleeping bag to minimise the chance of it getting wet. Your sleeping bag is your primary source of warmth at night and will not effectively insulate when wet[note]Hawks, Leona K., “Care of Down and Synthetic Sleeping Bags” (1990). All Archived Publications. Paper 210[/note]. Even though some sleeping bag stuff sacks may be water resistant, they can let water in, particularly in prolonged heavy rain or if the pack is submerged. It’s better to pack the compression sack into an additional dry bag, or double bag it with a plastic bag, ensuring to twist and tie the tops to prevent water getting in. Lining the stuff sack with a large plastic bag, before stuffing the sleeping bag – then twisting the plastic bag closed before sealing the stuff sack is a good way of adding an extra layer of protection from water.
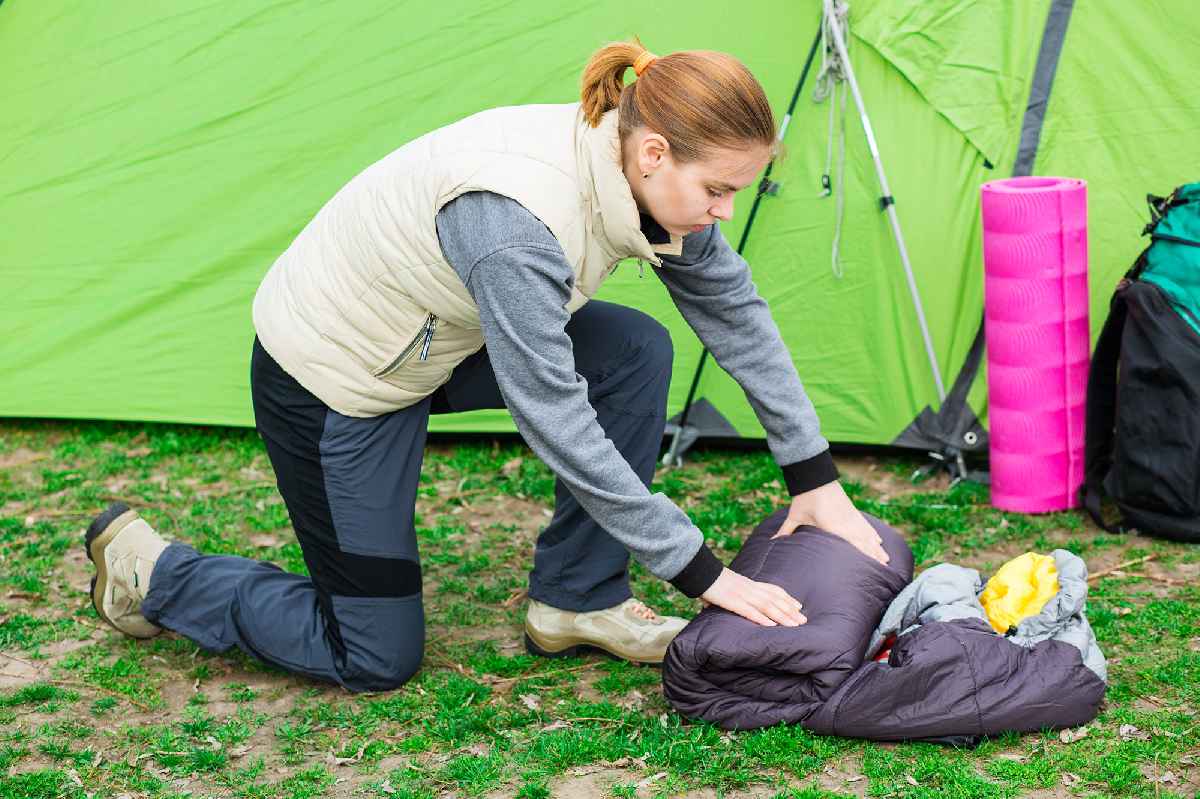
There are two ways to pack a sleeping bag: rolling or stuffing. Generally, stuffing is a good option if you have a compression bag and you want to get the sleeping bag as compact as possible. Rolling is very straightforward, but results in a larger volume bag so is generally used in situations where volume doesn’t matter, such as car camping.
Option 1: Stuffing (generally for down sleeping bags)
Start at the foot end of the sleeping bag and place it into the bottom of the stuff sack, letting the air escape through the top of the bag. Then gradually add small wads of material into the stuff sack without folding or rolling the bag. The aim is to stuff the material in a random (and different) way each time you stuff the sack. This keeps the insulation in the sleeping bag evenly distributed and performing better over time. It also reduces lumps in the fabric and likelihood of tears on the material.
Tighten the cord at the top of the sack. If there are compression straps the volume may be reduced. Tighten the straps little by little, keeping the compression even across the sack.
Option 2: Rolling, generally for synthetic sleeping bags and when volume is not an issue
Lay the sleeping bag out on the floor and fold the sides in to create the desired roll width. For some sleeping bags, this will be thirds, others halves. Decide based on what width you need the final roll to be.
Then begin to roll up the bag from the foot end, keeping the roll as tight as possible. For extra pressure, you can place a knee on the roll. Once entirely rolled, tie up the straps, or use tape to prevent the bag from unrolling. Sometimes it can help to grab another person to give you a hand attaching the straps.
Use and troubleshooting in the field
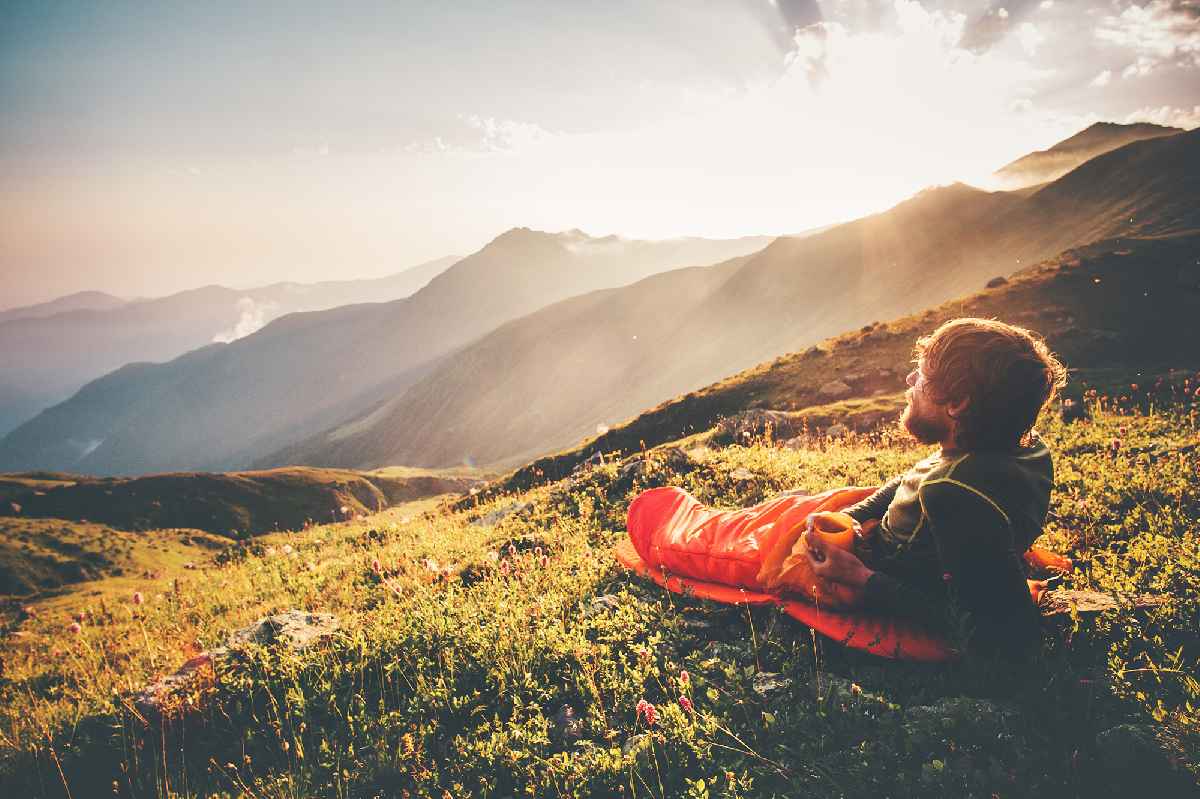
Sleeping bag insulation works best when it is all fluffed up and fully expanded. Once your shelter is set up, unpack your sleeping bag and give it a few shakes to get the expanding started. If you have not done so that day and the weather is suitable, air the sleeping bag outside.
Sleeping bags work best and last longest when kept clean and dry, so in the field, try to minimise the amount of dirt, sweat and dust that gets onto the bag. Air your bag out after each use, in the morning or when you get into camp in the afternoon. Avoid direct exposure with UV light for extended periods of time, but an hour of sunlight can help kill smell causing bacterial and fungal growth.
Treat your sleeping bag gently! Bags that are well cared for will stay warm for longer. Do not use a good sleeping bag near the fire. All it takes is a single glowing ember from the fire to create a hole and damage the bag, with dirt, dusk and smoky smell that the bag will pick up. If you like having something to wrap around you at the fire, consider a lightweight fireproof thermal shawl or throw-over instead.
A sleeping bag liner is a very worthwhile investment. Not only does it keep your sleeping bag clean and dry, but it provides extra warmth. Avoid sleeping in your bushwalking clothes. Instead, change into night camp clothes. This minimises body odour, oils and sweat transferring to the sleeping bag.
A few extra tips
- Give your bag a chance to fluff up especially on colder nights.
- If you are too hot in the bag, try unzipping it part way, take your head out of the hood or shake the bag to force out the warmer air.
- If sleeping in the open, use a groundsheet to protect the sleeping mat and bag. Avoid direct contact with the sleeping mat with the ground, which can have small sharps that may puncture the sleeping mat.
- When airing out your sleeping bag, hang it high off the ground, to reduce the chance of the bag getting dirty.
- Never force any zippers or buckles if they get stuck. Instead, be gentle and slowly undo any caught fabric.
- If using a sleeping bag without a hood, wear a hat or hoodie to keep warm and reduce the chance of being bitten by mozzies. This applies if the shelter does not have a flyscreen. A head covering keeps hair oil from the hood.
- Wear clean clothes and be clean when getting into your sleeping bag.
Tips and tricks if you are feeling cold in your sleeping bag
If you are feeling cold then here are some tips to help:
- Fully zip up your bag and use the hood.
- Ensure your insulation in your bag is inflated and evenly spread over the top of you.
- If rolling around, go slow and try to keep the bag from moving.
- Reduce airflow around the bag – block any drafts.
- If you feel cold from the ground, another thin sleeping mat may be needed. Wearing more non-constrictive clothing often assists.
- If you have a short sleeping mat, you may wish to put a pack under your feet.
- Use a sleeping bag liner as this can increase temperature by up to 5ºC.
- Wear a beanie to keep the head warm and loose-fitting layer of warm clothes.
- Place your head inside your sleeping bag and breathe inside the bag for about half a minute to warm up the air.
- Be mindful that your breathe is also humid, so avoid doing this for long stretches as condensation inside your sleeping bag can be counterproductive.
- In an emergency you can use a foil wrap from your first aid kit for warmth. Be mindful of condensation and water collecting on the foil and wetting your bag.
Sleeping with or without clothes
There’s a lot of debate around whether or not wearing additional layers of clothing adds more warmth to the sleep system or detracts, with strong advocates on both sides and surprisingly little research on the topic.
Frustrated by the lack of information, a blogger called onlinecaveman carried out his own DIY experiment to test the difference between heat loss wearing a layer of clothing versus not wearing a layer of clothing. He found that the system with a layer of clothing lost less heat than the one with no clothing.
The main purpose of a sleeping bag is to create a layer of warm air around the body by trapping body heat, so any additional layers may enhance this effect. Sleep systems work best when the insulation is allowed to do its job, that is, the insulation in the bag isn’t overly compressed by too many clothes).
It seems the clothing layering method used during the day also works in the sleeping bag. However, avoid tight-fitting clothes (these can restrict circulation), and ensure that night clothing is clean and dry. Also, stay away from clothes with zippers or other hard or patterned sections that may cause pressure sores.
SLEEPING BAG CARE AND MAINTENACE
Sleeping bags can be used for several years before they need a wash. Washing tends to add wear and tear to the bag and reduces the loft (i.e. insulation), so if you can delay the need for washing by caring for the bag, this is the best long-term option.
Check your sleeping bag regularly to make sure that the zippers are working and the seams are intact. Check that the insulation is evenly distributed as over time the insulation can clump unevenly, suggesting that a wash might be advisable.
Carry out small spot-cleaning jobs on areas such as the hood that are likely to accumulate sweat and dirt. Mix a little water with non-detergent soap to create a paste. Hold the shell away from the filling and use a toothbrush to clean and rinse the shell. By keeping the shell away from the filling you can clean the area without getting the inside wet.
Follow the manufacturer’s instructions when washing. As most sleeping bags are similar, washing instructions from a similar manufacturer should suffice.
If possible, follow specific manufacturer’s instructions. In general, the process for washing a sleeping bag is as follows.
Do up all zippers before washing to protect them. Most manufacturers suggest zipping the bag closed for washing. This seems to be to give a stronger bag, especially with newer materials.
If hand washing, fill up a wash trough or bathtub with warm water. Add a small amount of pure soap. Gently massage material and leave to soak (but no more than one hour). Gently squeeze the sleeping bag to remove any water and let the water drain. Refill with clean water, massage the material to remove suds, and let the bag sit for 15 minutes. Repeat until all suds are gone.
Many sleeping bags can be machine washed in a front-loader or a top-loader without an agitator. Add a small amount of appropriate soap (to ensure that no suds are left over, do not over-soap). Consider adding a few additional wet garments to balance out the spin of the machine (e.g. T-shirt). Consider running a rinse cycle with no soap to remove all soap residue).
Take care when handling your wet sleeping bag so as not to damage the baffles and visible fabric. When the down is wet and heavy, it is particularly vulnerable to stretching and tearing. Take time to squeeze out as much water as possible from the bag, and lift the bag from below to support the material. One option is to put the bag on a clean sheet and use this to carry the bag to where it will dry. If hand washing, the sheet can be most easily put under the sleeping bag while it is in the final rinse.
Once most of the water is out of your bag place it in the dryer and use a low heat to ensure that synthetic materials do not melt. As the bag dries, the insulation tends to clump together. This can be avoided by placing objects (tennis balls or other soft but firm objects) into the dryer during the final stages of drying to displace the clumps. Once dry, air the bag out overnight to make sure there is no residual moisture before storing.
Another way is to place the sleeping bag on a clean surface outside in partial shade as UV rays can degrade synthetic materials. A clothes line is ideal. Peg a sheet between two adjacent lines and place the sleeping bag on top, with the carrying sheet underneath. Drape a sheet over the top to protect the sleeping bag from direct sunlight. As the bag dries, the insulation tends to clump together, so check the bag periodically and manually break up the clumps. It will take several days to dry on a clothes line.
CAUTION – What not to do!
Never dry-clean your bag. The chemicals used in the dry-cleaning process can damage the bag fabric.
Avoid using fabric softeners or bleaching chemicals on your bag. Follow manufacturer’s instructions for what soap to use (usually a non-detergent soap).
Other maintenance jobs
Rips to fabric: If the outer layer of fabric is damaged in the field, to prevent loss of insulation, consider doing a small repair job by sewing or using an adhesive dressing from your first aid kit. At home, remove stitching and do a more thorough job using a gear repair tape.
Leaking down feathers: Over time, a few down feathers may work their way through the outer shell fabric and poke out. Work the feathers back into the insulation layer by gently massaging the surface and pushing the feather back in.
Waterproofing: Some sleeping bags have a water-resistant outer layer which helps protects the bag from water damage and dirt, but eventually wears off. Consider reapplying the durable water repellent using a suitable product (check with your manufacturer).
Storage
Store your sleeping bag in a cool dry area away from direct sunlight. The bag is best stored fluffed up. Many sleeping bags come with a large breathable storage bag us this otherwise a cloth bag like a pillow case or larger is ideal.